Understanding XAMPP and guidance on XAMPP installation

Ngoc Phuong
2020-04-24 . 108 view
I. Understanding XAMPP
1. What is XAMPP?
XAMPP is simply a web server program that has pre-integrated Apache, PHP, MySQL, FTP Server, Mail Server, phpMyAdmin, and other tools like phpMyAdmin.
2. What is XAMPP used for?
XAMPP is typically used to build and develop website projects in PHP language.
3. Pros and Cons of XAMPP
Pros:
- XAMPP can run on all operating systems: From Cross-platform, Window, MacOS and Linux.
- XAMPP has simple configuration as well as many useful functions for users. Significant examples include: emulating a Server, emulating a Mail Server, supporting SSL on Localhost.
- XAMPP is open source and very easy to use.
Cons:
- XAMPP has a large size, heavier compared to other web servers.
- XAMPP has a simple configuration so XAMPP does not support Module configuration, nor does it have a MySQL version, so it sometimes brings inconvenience to users.
II. Instructions for installing and using XAMPP
1. Download Xampp
Visit the link and download the version suitable for your computer: DOWNLOAD XAMPP FREE
2. Instructions for installing XAMPP
After downloading, open the file and find the .exe file to run.
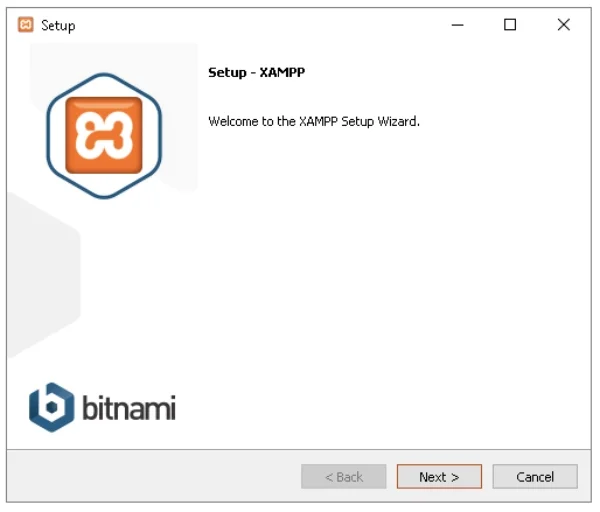
Click Next on the appearing Welcome screen
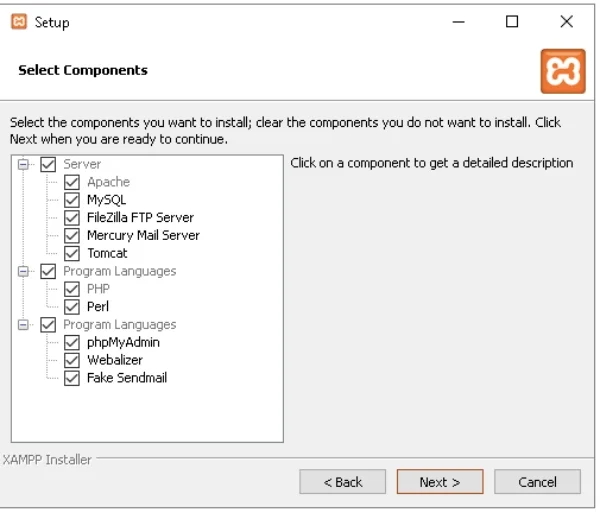
At the Setup - Select Components screen: Choose the apps included in the XAMPP package at this screen. You can remove unnecessary parts. However, choose everything and click Next as you might need them in the future.
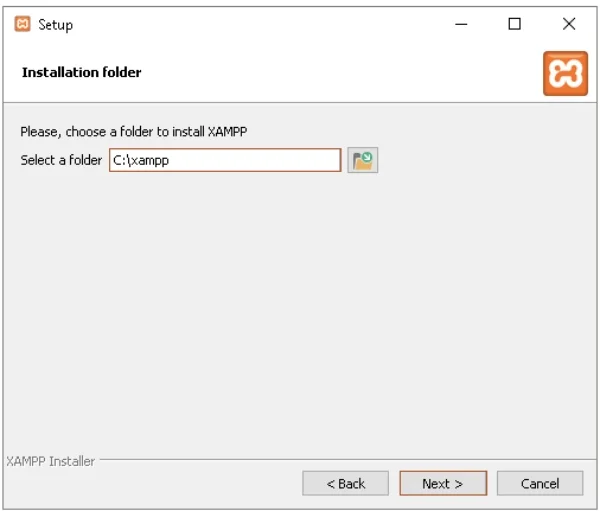
At Setup - Installation folder: choose the folder to install, the default is C:\xampp. Pay attention to choose another drive so that you won't lose data when reinstalling windows.
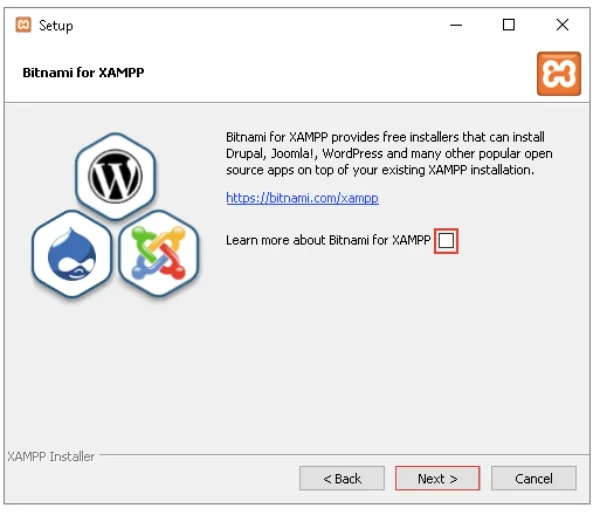
At Setup - Bitnami for XAMPP: It introduces Bitnami integration pack for XAMPP, you can select "Learn more about Bitnami for XAMPP" to learn more about it if you want. Otherwise, uncheck it.
At the Setup - Ready to Install screen, continue to click Next
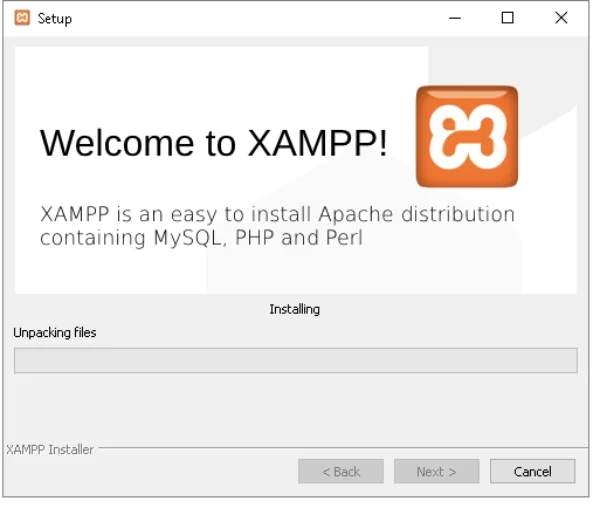
Finally, at Setup - Welcome to XAMPP: wait for it to install.
3. Start XAMPP
After installation, open the program and start Apache and MySQL.
Under "Actions", click on "Start" buttons corresponding to "Apache" and "MySQL" to start those apps.
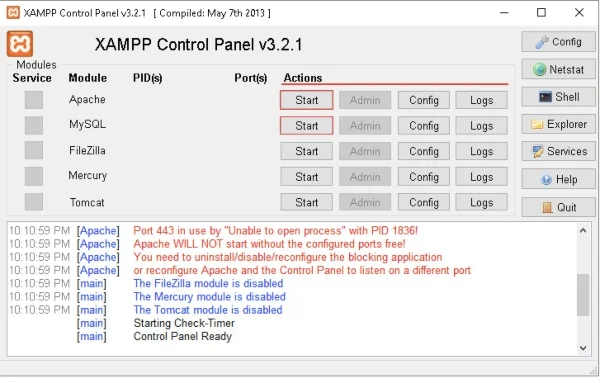
Commonly after installation, there would be an error saying Apache can't be started, most often due to the conflict of port 80, which is prioritized by several apps such as Skype, IIS, World Wide Web Publishing service, HTTP Server API, …
The solution is to shut down the above apps then restart Apache:
- Close corresponding apps like Skype, IIS, or HTTP Server API, etc.
- For World Wide Web Publishing service, press the combination: Window + R > type services.msc > find "World Wide Web Publishing Service" in the dialog box > right-click and choose "Stop".
After shutting down the corresponding app, click "Start" to restart Apache. The screen as below would mean success.
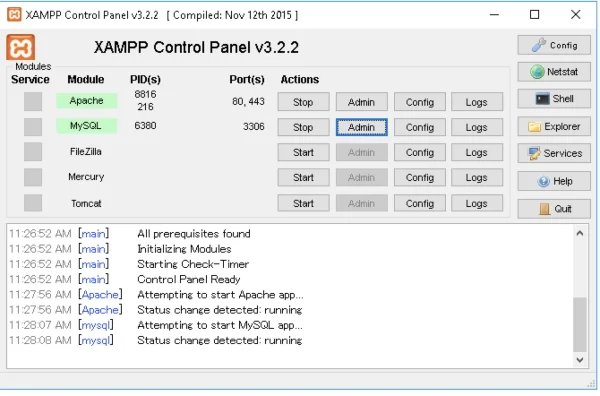
Type http://localhost/ into the browser, if "It works!" (or the dashboard of Xampp) appears, it means you have successfully installed.
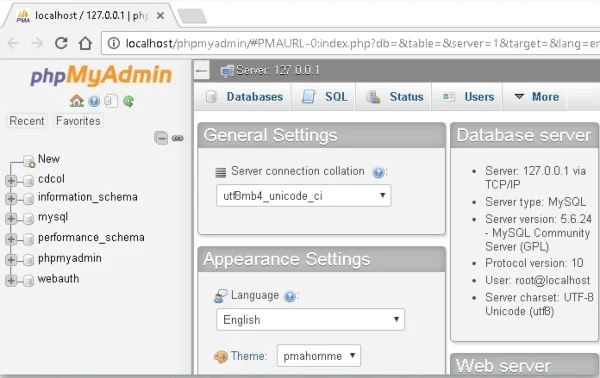
4. phpMyAdmin
For the easy management of the database, you should use phpMyAdmin.
phpMyAdmin has been pre-integrated in the XAMPP installation pack, so after successfully installing XAMPP, we can use phpMyAdmin.
Click the "Admin" button corresponding to "MySQL" to open the phpMyAdmin page.
5. Try working with XAMPP
Access the XAMPP installation directory, typically C:\xampp\htdocs\
Make a folder named demo: C:\xampp\htdocs\demo\
Create a file index.php: C:\xampp\htdocs\demo\index.php
Open index.php and enters the following php code
Then type http://localhost/demo/index.php into the browser, you will see the result.
Ngoc Phuong
Web Developer
Thank you for visiting my website. My name is Ngoc Phuong, and I have over 10 years of experience in website development. I am confident in stating that I am an expert in creating impressive and effective websites. If you need a website designed, please feel free to contact me via email at [email protected].
Submit feedback
Your email address will not be made public. Fields marked are required *
Search
Trend
-

What is Black Myth: Wukong? Detailed Guide on System Requirements and Gameplay
08-21-2024 . 887 view
-

Call of Duty: Black Ops 6 - Intense, Mysterious, and Surprising Warfare
09-02-2024 . 765 view
-
The "End of Life" for Windows 10: A Massive E-Waste Threat and Sustainable Solutions
08-18-2024 . 722 view
-

Casio WS-B1000: The Perfect Blend of Traditional Watch and Smartwatch
08-11-2024 . 638 view
-

Lost All Money by Trusting in "Elon Musk Deepfake": A Cautionary Tale of Deepfake
08-21-2024 . 611 view


0 feedback