Add Color to Your Text: A Guide to Hand Drawing on Google Docs

Ngoc Phuong
2024-08-07 . 288 view
Have you ever thought about turning your ideas into reality right on Google Docs? With the integrated drawing tool, you can create vivid, visual illustrations to enhance your articles, reports, or any documents. Let’s explore how to do it!
Using Google Docs' Integrated Drawing Tool
If you plan to use the drawing only for the current Google Doc, you can create it directly through the application. The sketch won’t be saved to Google Drive for external use but can still be edited.
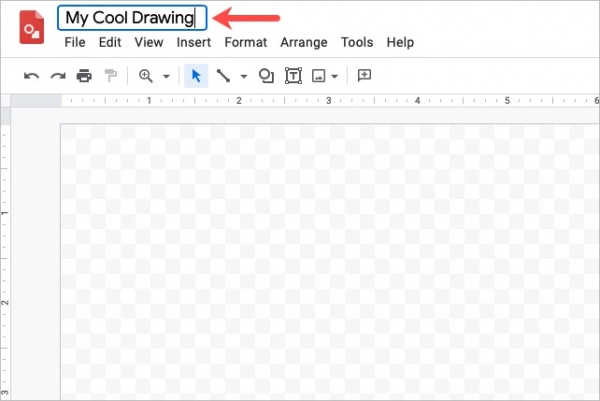
Step 1: Access Google Docs, log in with your Google account, and open a document or create a new one.
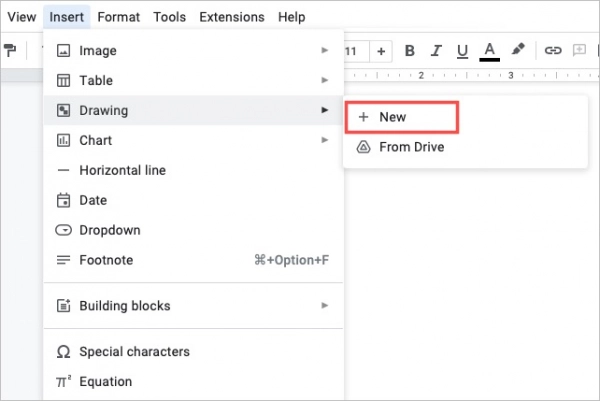
Step 2: Place the cursor in the document where you want to draw. Navigate to Insert > Drawing in the menu and select New.
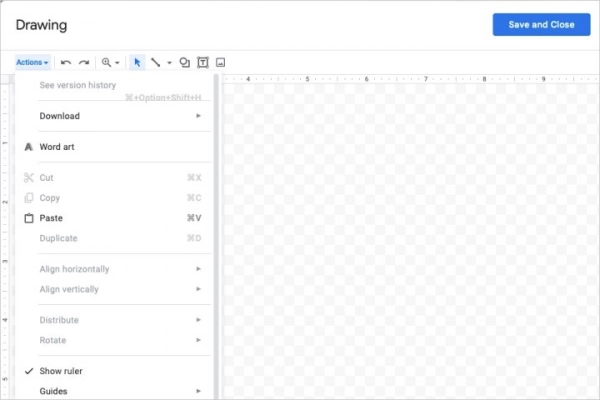
Step 3: When the drawing tool opens in a pop-up window, use the options on the toolbar to create your drawing.
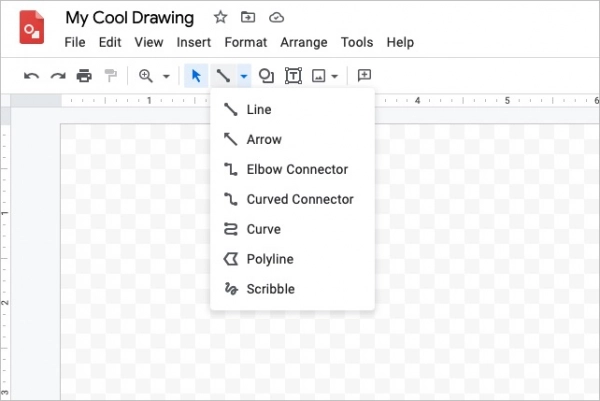
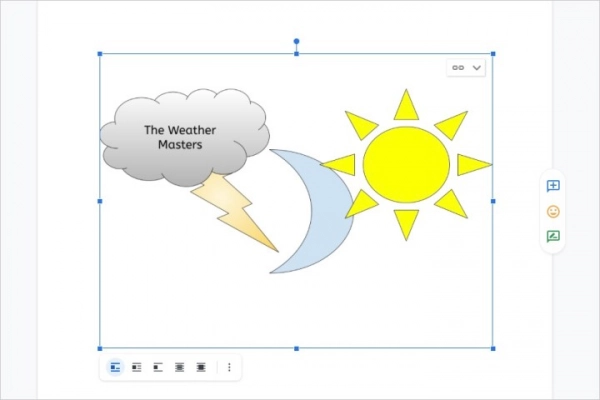
With the Actions menu, you can use tools like word art for fancy text and guides for aligning items. The toolbar lets you choose lines, shapes, text, and images.
To draw freely, use the Line drop-down arrow on the toolbar to select Scribble.
Step 4: When finished, select Save and Close.
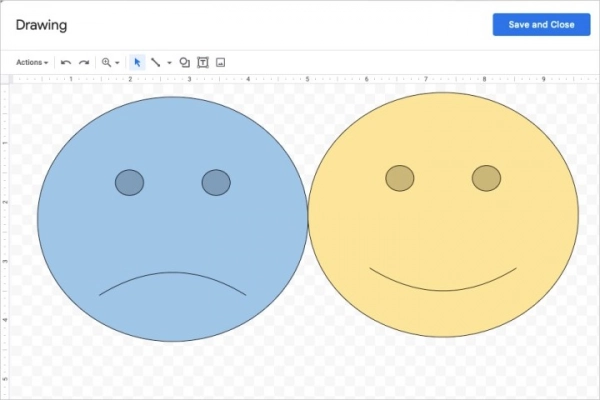
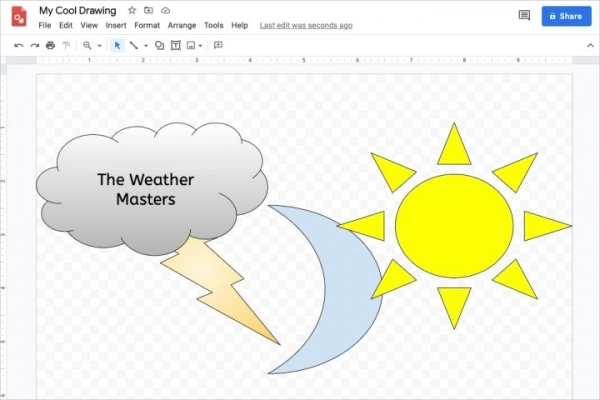
Step 5: You’ll see the drawing appear in your document.
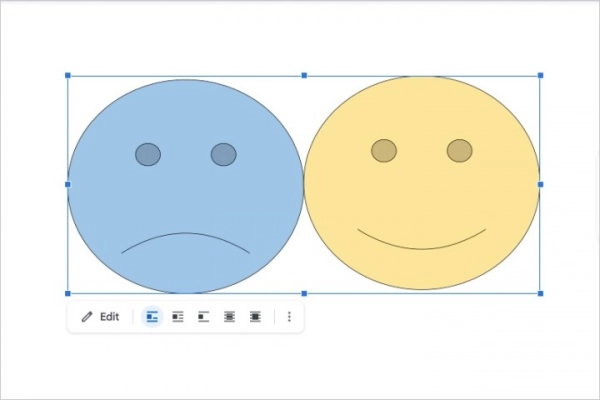
If you want to make changes later, select the drawing and choose Edit on the floating toolbar below or double-click to reopen the drawing window.
Using Google Drawings and Inserting Your Sketch
If you want to spend more time on the drawing or easily save it in Google Drive for external use, you can use Google Drawings. While it works similarly to the Google Docs drawing tool, you can access Google Drawings directly.
Step 1: Go to Google Drawings and log in with your Google account to start drawing.
Step 2: Begin by naming your drawing in the upper left corner. By default, the name is "Untitled Drawing."
Step 3: Use the menu options and toolbar to create your sketch or illustration. You can include shapes, images, text, and lines just like the tool above.
To draw freely, select Insert > Line and choose Scribble or use the Line drop-down arrow on the toolbar to select Scribble.
Step 4: As you work on your drawing, the file will be automatically saved. It will then appear in your Google Drive like Google Docs, Sheets, and Slides.
When finished, return to Google Docs.
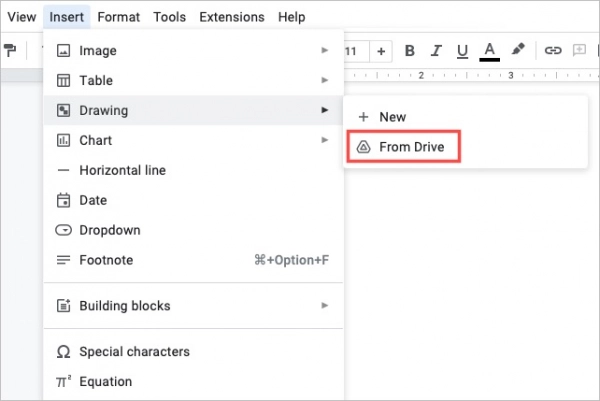
Step 5: Place the cursor in the document where you want the drawing. Select Insert > Drawing and this time, choose From Drive.
Step 6: Locate your drawing and select Select.
Step 7: You will see a prompt to link to the source or insert an image without a link.
- Link to source: If you want the ability to easily edit the drawing, choose this option. Then you can select Open source in the upper right of the image in Google Docs to make changes in Google Drawings anytime.
- Insert without link: If you do not intend to make changes, you can choose this option. If you change your mind later, you can edit in Google Drawings and then reinsert the updated image in Google Docs.
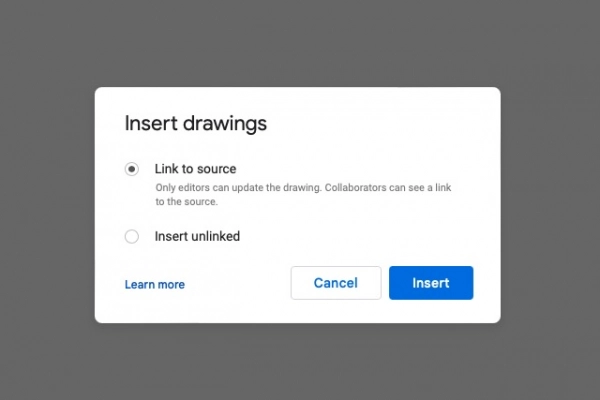
Step 8: After choosing the link option, select Insert and your image will appear in Google Docs at the location you selected.
With these instructions, you can confidently create beautiful and professional drawings right on Google Docs. Try it out and explore more exciting features of this tool!
Ngoc Phuong
Web Developer
Thank you for visiting my website. My name is Ngoc Phuong, and I have over 10 years of experience in website development. I am confident in stating that I am an expert in creating impressive and effective websites. If you need a website designed, please feel free to contact me via email at [email protected].
Submit feedback
Your email address will not be made public. Fields marked are required *
Search
Trend
-

What is Black Myth: Wukong? Detailed Guide on System Requirements and Gameplay
08-21-2024 . 1k view
-

The simplest and fastest way to log into the Chinese TikTok, Douyin.
01-10-2022 . 1k view
-

Blog sites that will accept AI generated content
07-26-2024 . 1k view
-

Call of Duty: Black Ops 6 - Intense, Mysterious, and Surprising Warfare
09-02-2024 . 1k view
-
The "End of Life" for Windows 10: A Massive E-Waste Threat and Sustainable Solutions
08-18-2024 . 943 view
0 feedback